happy Friday!
like the title says...
just lots of randomness today...
I've spent the week designing new "things" for CHA Summer...
it's only 4 months and a week away...
a HUGE...YIKES!
I've been working on new stamps, new art parts & new Blossom Bucket trinkets...
plus a few "things" for the gift market...
and scheduling more teaching weekends...
the scoop is on the right sidebar...
see?...I'm jumping all over the place...
next I want to share a small portion of an email I got earlier this week...
I've answered emails similar to this in the past...
so I thought I'd share it here...
maybe it will help others...
OMG...I just found you by accident. You are exactly what I've been searching for. I want to jump into your world, but I need guidance. I would appreciate any help with these questions. Where do I start? What supplies do I need? Can you explain the process you used to develop your style? How long did it take?Can I do this stamping?
here are my thoughts for people just finding the stamping, inking, mixed media world...
before you make any purchases,
do some research to help you find your style...
find what appeals to you...
this will help you avoid impulse purchases...
things you may not really need...
or want in a few months...
there is TONS of free info on the internet...
visit blogs, searching for key words to help you find them...
YouTube is also an excellent source of free info...
again, search for key words...
or names of artists you find on the net...
it's a HUGE time sucker...
it's amazing...
I LOVE it...
but time can quickly get away...
don't ask me how I know this!
I think you'll quickly see what style you like,
be it cute, simple or grungy...
then purchase just the basic supplies you need...
don't buy everything you see...
make sure you really enjoy "making art" first...
here's my list of essentials...
to protect your work space & it's great for inky techniques...
quite simply...THE BEST!
a multi-surface black ink...
Ranger's Archival works on paper, chipboard, grungeboard, grungepaper, fabric, metal, Clearly for Art, art parts and more...
quiet, hot & it has a built in diffuser, so your embossing powder isn't blown all over the place...
lol...that fit right in with the title!
some card stock...
to get you started with small card projects...
the mini size is a great trial size...
a few colors of ink...start with the basic colors...
choose a green, blue, red, yellow & brown that you like...
I LOVE the distress ink colors...
a stamp set or 2...
when choosing the stamps, try to have several ideas on how you would use them, before you make a purchase...
now about style...
several years ago I probably didn't know this...
but because of teaching I do,
I have the answer...
the style is already IN YOU...
seriously...
IT IS...
here's my observations...
in my Ranger techniques class, each student has access to the exact same products (tags, inks, mists, stamps etc)...
and what I see is that each person has their own style, whether they know it or not...
and I point this out @ the end of the workshop...
it's very obvious...
some people use more inks,
some use the same inks as their table mates, but apply it lighter...
even their "way" of applying inks is unique...
each person chooses the ink colors that SPEAK to them...
no 2 tags turn out exactly the same...
and that's the fun part...
get the technique down, then put your UNIQUE twist on it...
and the last part...
CAN I DO THIS?
YOU BET...if you want to...
YOU CAN...
NO DOUBT...
take some time...
just play & practice....
and don't expect a masterpiece the first time...
like the old adage says...
practice makes perfect...
and eventually YOUR STYLE will naturally evolve!
and in the future,
when you are addicted & want every ink & rubber stamp you see...
remember...
it's NOT MY FAULT!
YOU ASKED!
now jumping to inspiration...
our new laundry room ART...

was inspired by the photo below...
there doesn't seem to be much of a connection...
but in my little mind I guess there was...
keep your eyes & your mind open...
inspiration is all around us...

and speaking of SEEING...Lori GETS it!!!
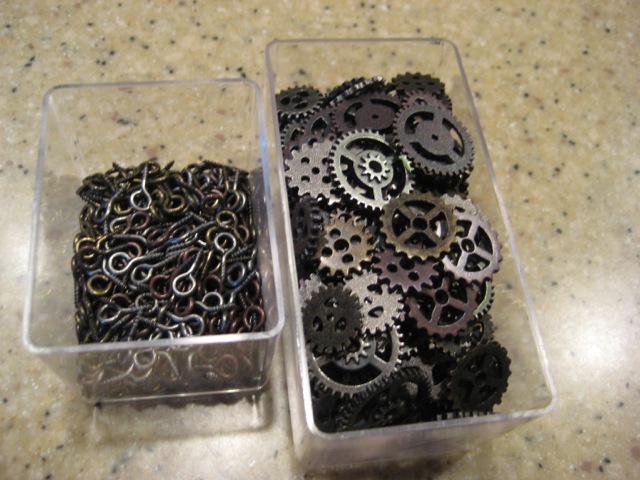
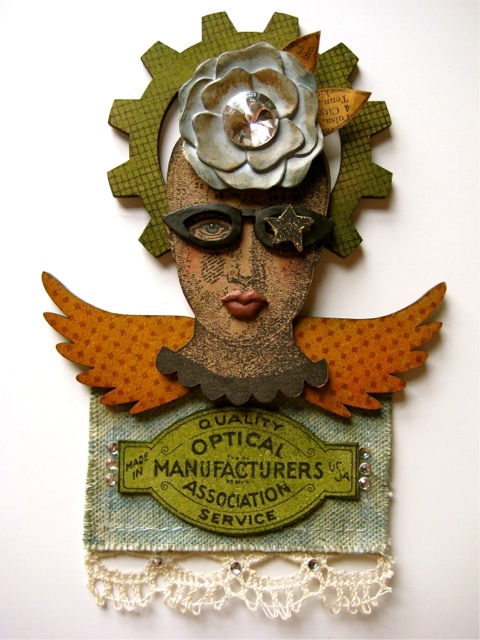
Lori saw these $1.00 generic wood pieces...
and magically transformed one into this BEAUTY...
I think it's pretty spectacular & she started with a $1.00 find...
wouldn't this make a great gift?
and she'll give you the scoop on how she created this ART!
THANKS Lori for sharing with us!
and here's a few pieces from CHA...
don't think I shared these before...
this first is a piece for tim's idea-ology booth...
YUM!
the clocks are sitting on a little shelf, that's made with my new Blossom Bucket black metal shelf...
I LOVE THESE ...MILLIONS!
and they ship in APRIL...NEXT MONTH!
and the dimension on the clocks was fun...
cut out the clocks & heated them to make them rounded...
the clearly for art didn't add a lot of bulk, which was important, since this is such a small piece...
and it allowed me to have 3 clocks layered & they still fit on the shelf...

and this was a fun one to create...
and some Blossom Bucket trinkets...
the large flower, the mini lips & those cool glasses...
these ship next month too!
they are fun to ink with the distress stains...
and then embellish...
a little vintage lace...
& she was complete...

I'll be back on Monday @ 9am Chicago time...
I'm participating in a blog hop for an "author" friend...
I'll have a tutorial all ready to talk about the techniques I used to create my art...
until then, I wish you a bright bright sunshiny day
with plenty of time to...
make art!
wendy


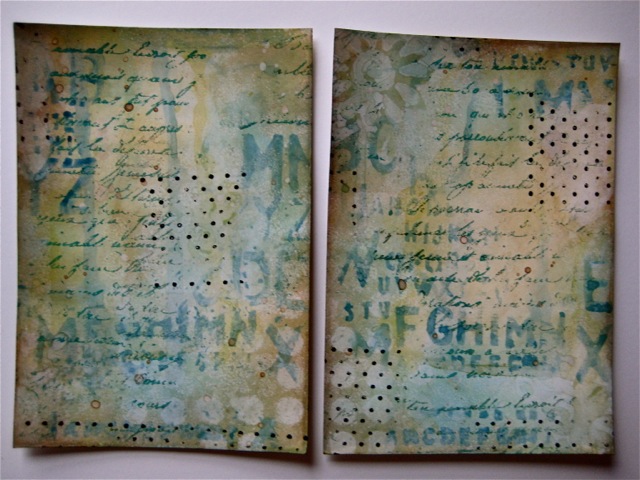
 so, what I wanted you to see is that if you like backgrounds, inks, stains, stamps, stencils & PLAYING...
 now if you go back to the photo @ the top of the post...
 stampinfranni said...


