

go me!
I'm thrilled to show you what's coming from Stampers Anonymous...
it's all shipping the week of Feb 18th...
let's start off with
the 4 new stamp sets...each set comes with full a page stencil...
they are $19.95 with the FULL PAGE stencil included in the package...what a DEAL!
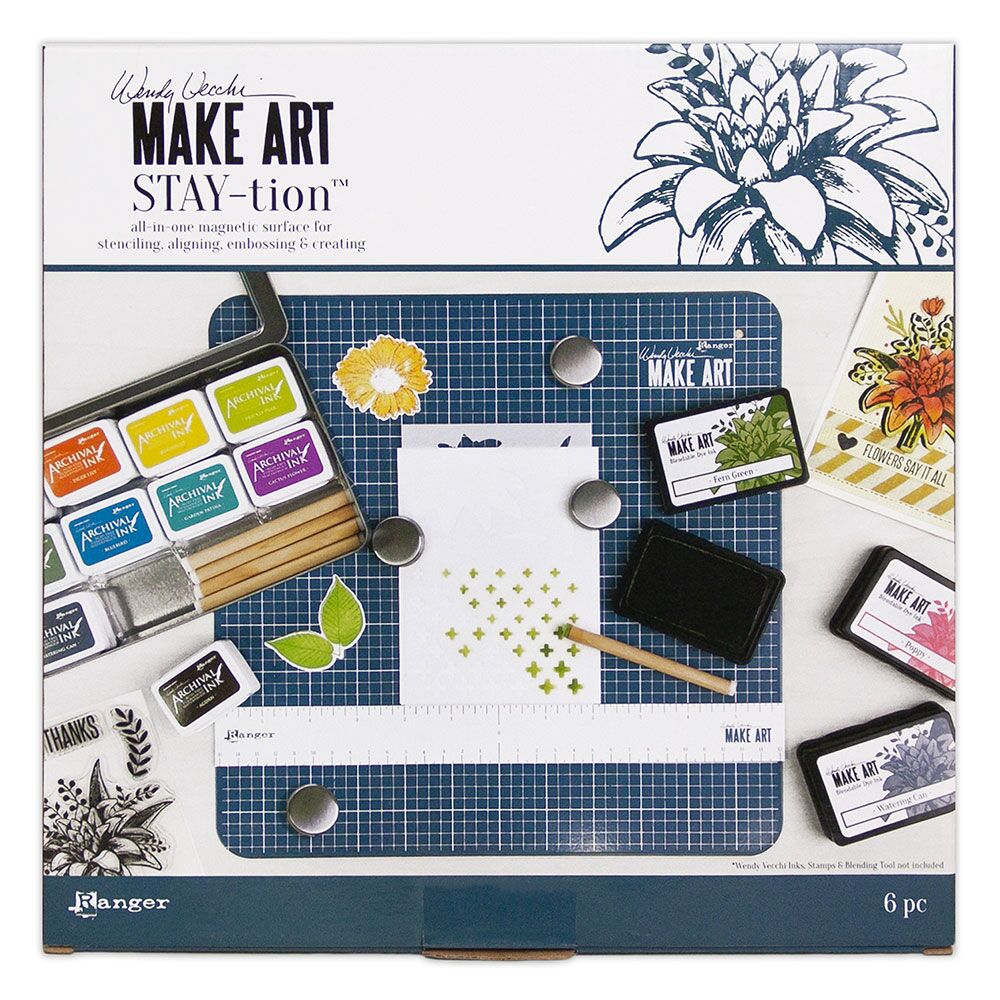
and this is why you'll love
my MAKE ART STAY-tion!

the first set is... SCS 164...DELIGHTFUL ART
2 gorgeous larger statement floral stamps with coordinating sentiments...
the flowers have coordinating mat minis...
I've had fun with them...
great final point...

SCS165...FRONT DOOR ART
this set has coordinating mat minis for the door & the 4 images on the right...
they are too stinkin' tiny cute! see that flowerpot? it's a 2 parter & the pot is only ½ inch tall!
the door is fab for a mixed media home decor art & cards too!
this set has perfect sentiments that are quite useful & missing from my line...

next is SCS166...A BASKET OF ART
there are mat minis for all these images & I must say...
that bushel basket? my FAV! so many ways to fill it year round, with pumpkins to flowers to funky people...
the multi-part bushel basket stencil is BEYOND cool! you might have spotted the bushel basket in yesterday's Ranger post...might be my fav!

the 4th set SCS 167 is ART FROM HOME
there are mat minis for the 3 flowers, the plant & a 2 part house mat mini...
this is a fun one for a wedding, anniversary
or maybe just for your sweetheart...

there are 6 sets of NEW mat minis...
each set is $4.99...
there are 4 sets to coordinate with the 4 new stamp/stencil sets and 2 are everyday MUST HAVE staples...
lets look at the STAPLES first...
I peeked the PICKET FENCES many times on social media & they are going to be a hit...it's obvious you LOVED them too!
seriously a million uses...
the second mat mini set is called HEART FRAMES & there are 4 frames & 4 hearts in this set! so 4 sheets/8 pieces total...
2 are vertical & 2 are horizontal, designed so they fit landscape & portrait cards & mixed media projects, in either orientation ...
use the heart alone, use the frame alone or use them popped back together...
here's the pic of the packages...

the PICKET FENCE set has 2 sheets, that look like this...every size fence we need is there...
12 fences in total...
these are really fun & you'll see many samples using them...

here are the 4 mat mini sets that coordinate with the new stamp sets...
you can see some samples from the flyer too...


background stamps are a great investment because they are so versatile...
tada...
I have 4 NEW backgrounds!
they are $10.95 each...
TINY FLORAL is from a vintage book we found at an antique mall...
you'll see it on the mug sample below...
this is a fun one to emboss, then add my
Blendable ink over it...
below that is PIN POINT DOTS
it's a great random/subtle background...
it's fabulous to stamp over flowers/leaves for that extra little something! I have to hide it so it's not on every sample...it's a good one!

below, on the top left is PLAID FLANNEL...
it's embossed with Ranger's vintage pearl embossing powder on the sample below...
this stamp is also a good guy card background, done in darker colors...
the bottom right is REGISTER...
awesome text...it is on an older set, but we've enlarged it to 4 ¼ x 5 ½ & now it's even better!
it's a really good background & again...great over flowers to add texture...

you can see samples on the pages above, but here's a few more...


my new stamps/stencils needed a new stamp binder...
you can get the stamp/stencil binder from your local store, fav on-line or right from Stampers Anonymous...
this is the perfect way to store your sets & keep the stencil right with the stamp set...
organized is good!

THANK YOU SO MUCH
for visiting...
for your friendship & support of my products...
thanks to those who take my classes & the store owners who stock these goodies for YOU!
I hope this release inspires you...
I've had a blast making samples & I'll be sharing tons more...
Matt gave us a link, if you'd like to see the whole flyer...
time to go...
gotta
MAKE ART in PHOENIX!
wendy


